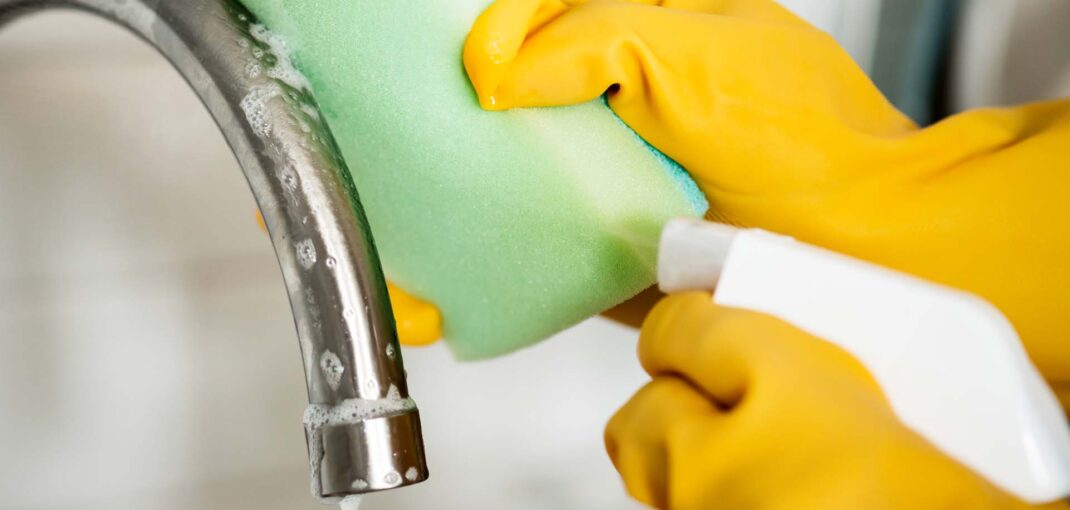
A sparkling clean kitchen faucet head not only enhances the aesthetic appeal of your kitchen but also plays a vital role in maintaining a healthy and hygienic environment. In this comprehensive guide, we will explore how to clean the kitchen faucet head, providing detailed instructions, tips, and advice to help you keep this essential part of your kitchen in top condition. Regular maintenance is the key to ensuring a clean and functional faucet head, and we’ll discuss the importance of this, along with the many benefits it brings. We will also address common issues that can arise from neglecting faucet head cleanliness and offer eco-friendly cleaning solutions, as well as recommend suitable tools and products for the task. Let’s dive into the world of kitchen faucet head maintenance.
Why Clean the Kitchen Faucet Head?
A clean kitchen faucet head ensures the purity of the water that flows into your cooking and drinking utensils. It prevents contaminants from reaching your food and beverages, thereby safeguarding your family’s health. Benefits of a clean kitchen faucet head:-
- Improved water flow
- Enhanced aesthetics
- Prolonged lifespan of the faucet
- Reduced risk of limescale buildup
Some Common Issues
- Limescale Buildup: The accumulation of limescale can lead to reduced water pressure and unsightly stains on the faucet head. Learn how to prevent and remove this common issue.
- Reduced water Flow: A clogged faucet head can hinder water flow, making tasks like washing dishes and filling pots frustrating and time-consuming.
- Bacteria and Germs: Neglected faucet heads can harbor harmful bacteria and germs, potentially contaminating your water supply.
- Aesthetic Concerns: Stains and discoloration can mar the appearance of your kitchen faucet, making it look old and uncared for.
Preparation for Cleaning
Gather the necessary tools and products: Before you start cleaning your kitchen faucet head, make sure you have the following items at hand:
- Soft brush or toothbrush
- A bowl or container for soaking
- Vinegar or a suitable descaling solution
- Water
- Microfiber cloths
Turn off the water supply: To ensure safety and prevent any unexpected water sprays, turn off the water supply to the faucet. This is typically done by closing the valves beneath the sink.
Check Out Some Elegant Sink Faucet and Shower
Step-by-Step Cleaning Guide
- Remove the Faucet Aerator: Carefully unscrew the faucet aerator from the end of the spout. This small attachment is where limescale and debris tend to accumulate.
- Soak the Components: Place the aerator and other removable parts in a bowl or container filled with a mixture of equal parts water and vinegar (or a descaling solution). Let them soak for about 30 minutes to loosen any buildup.
- Clean with a Toothbrush: After soaking, use a soft brush or toothbrush to gently scrub the aerator and other components, removing any remaining mineral deposits or dirt. Pay special attention to the fine mesh screens within the aerator.
- Rinse and Reassemble: Thoroughly rinse all components with clean water, ensuring that no vinegar or cleaning solution residue remains. Reassemble the faucet aerator and other parts in the reverse order you removed them.
Eco-Friendly Cleaning Solutions
- Vinegar and Baking soda: A mixture of vinegar and baking soda can effectively dissolve limescale and stains. Combine these two household staples to create a powerful, eco-friendly cleaning solution.
- Lemon Juice: Lemon juice’s natural acidity makes it an excellent choice for cutting through limescale and leaving your faucet head smelling fresh.
- Hydrogen Peroxide: This gentle disinfectant can help kill bacteria and germs while also tackling mineral deposits.
Recommended Cleaning Tools and Products
- Soft Brushes: Soft-bristled brushes or toothbrushes are perfect for cleaning delicate faucet components without causing damage.
- Commercial Descaling Solutions: For heavy limescale buildup, consider using a commercial descaling solution specifically designed for faucets and other bathware fixtures. Follow the manufacturer’s instructions for the best results.
- Microfiber Cloths: Use microfiber cloths to wipe down the faucet and remove any remaining water spots or stains for a brilliant shine.
Frequency of Cleaning
Establishing a regular cleaning routine is essential to maintain a clean kitchen faucet head. Depending on the hardness of your water, aim to clean the faucet head every 1-3 months to prevent limescale buildup and bacterial growth.
Maintaining a Spotless Faucet Head
Prevention tips for limescale buildup
- Consider installing a water softener to reduce the hardness of your water.
- Wipe down the faucet head after each use to prevent water spots and stains.
- Regularly check for leaks and address them promptly to prevent water from settling on the faucet.
Avoiding stains and discoloration
- Use mild dish soap and a microfiber cloth for regular cleaning to prevent stains.
- Avoid abrasive cleaners or scrubbers that could damage the finish of your faucet.
Final Verdict
A clean and well-maintained kitchen faucet head not only ensures the purity of the water you use for cooking and drinking but also adds to the overall aesthetics of your kitchen. Regular cleaning prevents common issues like limescale buildup, reduced water flow, and bacterial growth. By following the steps outlined in this guide, using eco-friendly solutions, and selecting the right tools and products, you can keep your kitchen faucet head in top condition. Make faucet head maintenance a part of your regular cleaning routine, and enjoy the benefits of a clean and sparkling kitchen faucet for years to come.